
If a shipyard was doing this project it would be a trivial job. A designer would send post-processed CAD geometry to a CNC operator who would cut out the flat blanks. The blanks would go to a fabrication shop: maybe the Sheet Metal Shop in a large yard, or the Fab Shop in a small yard. There, a fabricator would round the edges of the blanks, so the plastisol will coat evenly, and bend their mounting flanges. Then the parts would be sent to the paint shop. I’ve seen zarfs in several colors. Unlike valve handles, which are also coated with plastisol, color has nothing to do with the operation of a zarf. My theory is that the paint shop coats zarfs with whatever color plastisol they have most of, or are trying to use up fastest.
My workshop isn’t funded or staffed as fully as a shipyard so I have to approach the process differently. It began the way I would do it in my day job: I went on a ship check and took measurements. Then I transcribed the measurements into a CAD drawing:
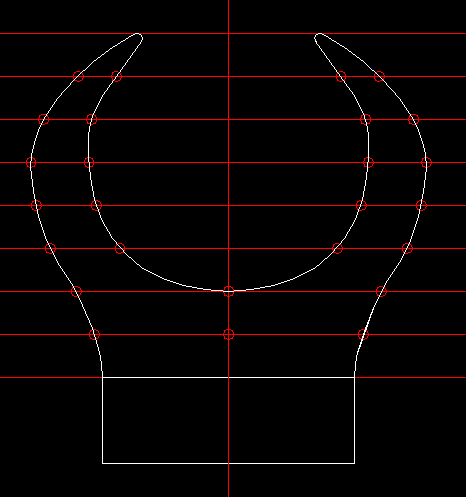
The as-built drawing is pretty bad. In my defense, I was on a road trip from Virginia to Connecticut with a tight schedule, and had convinced the rest of my party to divert into downtown Baltimore so I could visit USS Torsk and make a quick sketch of the zarfs in the Maneuvering Room. I was so hasty that I forgot to bring my coffee cup for an op-check of the zarf. I measured points along the edges of the top flat, noting them in a table of coordinates. I made some additional notes and sketches, and we got back on the road.
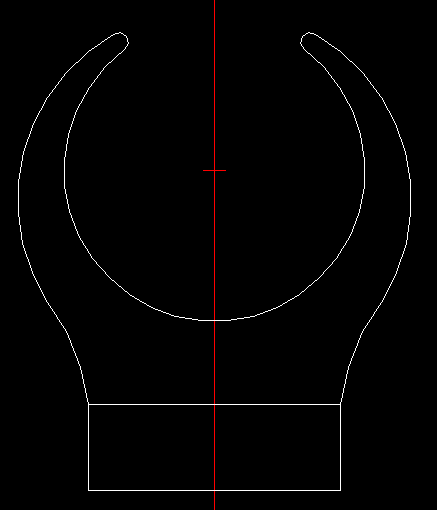
The image above is how the coordinates translated into CAD. Clearly not suitable for fabrication, but it caught the general intent of the object. Measuring from a cup, and fine-tuning the geometry in CAD led to a more pleasing result that I used as a basis for the first prototypes:
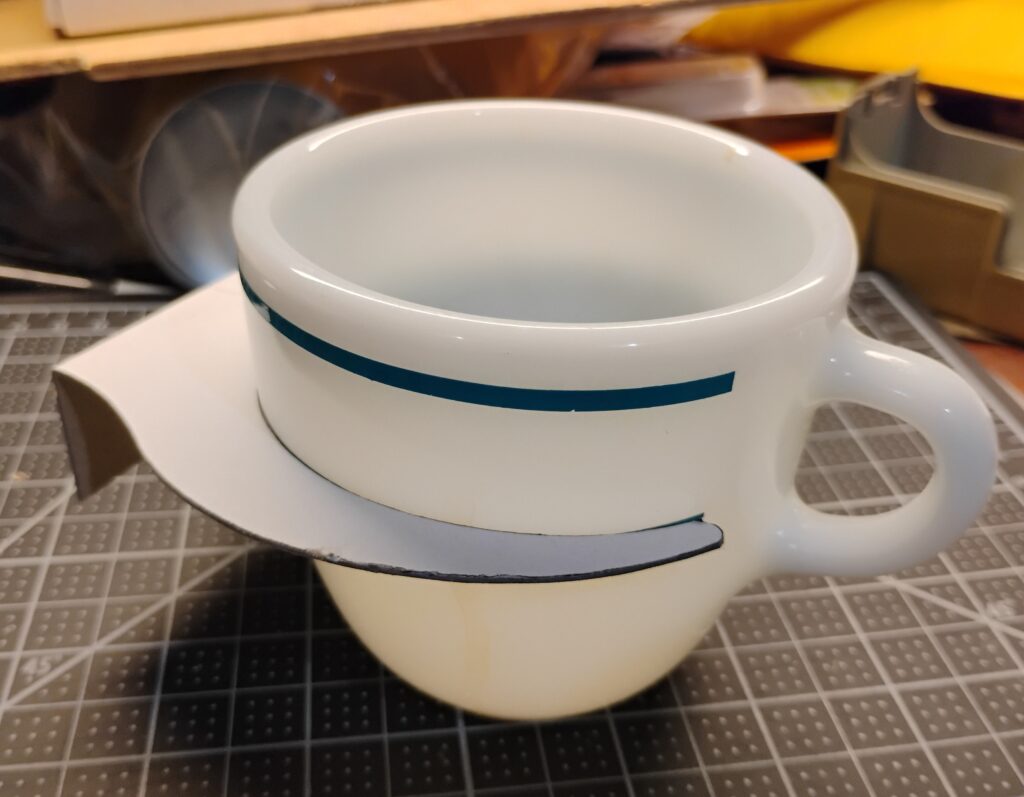
Things can look good in CAD but the real test is how they look in physical form. I plotted a full-size print of the CAD drawing, spray mounted it to a piece of heavy card stock, and cut it out to make a study model. This way I could bend the mounting flange and look at the object from all angles. I could also test fit a coffee cup and do a general sanity check before cutting metal. The results were promising:
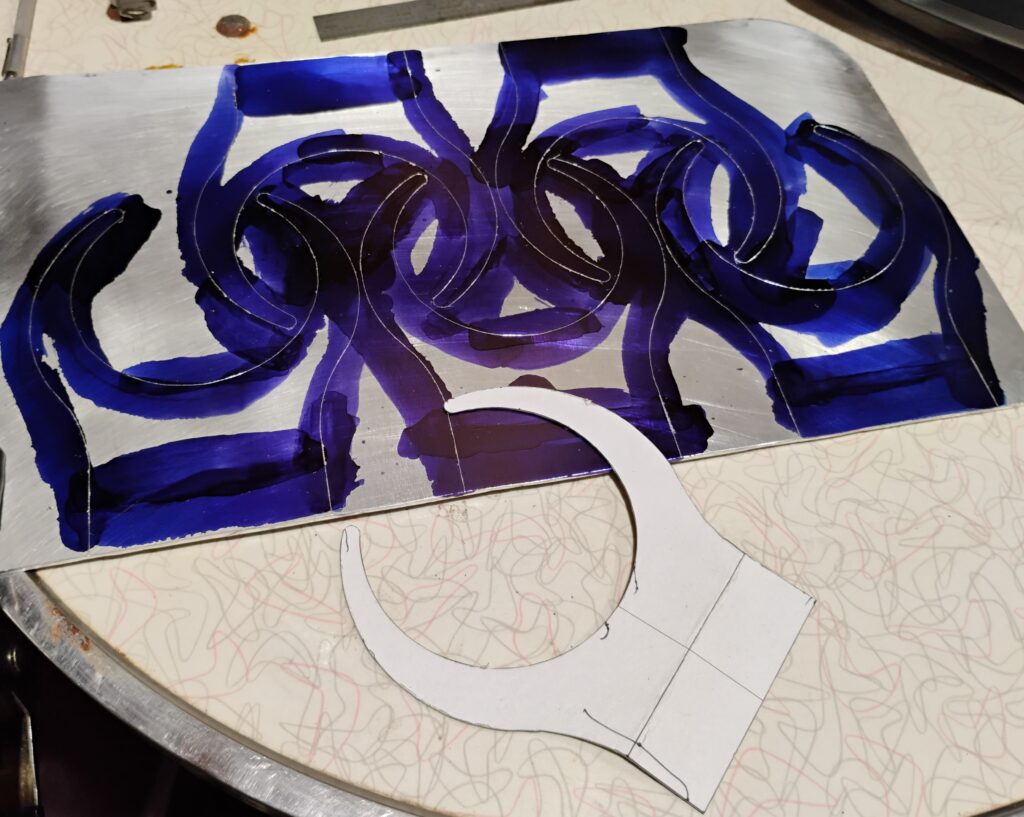
I used that card stock prototype as a template for scribing the outlines of five blanks onto a piece of 0.1″ thick aluminum sheet metal I’d scavenged up on a roadside. When I go into production I’ll buy sheet stock from a metal vendor. Making the metal I found ready for fabrication took far too long. But for this stage, there was no beating the price.
It was a flashback to Industrial Design studio classes: hacking a prototype together with hand tools and found objects. In this case a jig saw, rasps, files, and of course, sandpaper. It took several days to get all five blanks cut out and sanded down to within 100-grit of their final shape. Definitely no way to do a production run but it was good enough for design prototyping. With the blanks cut out the next problem was bending the flanges.
The zarfs on Torsk had flanges bent to a tight radius. It looked like a 1/8″ inside radius, though it was hard to tell without taking one down for precise measurement. The plastisol coating on the bend didn’t help, either. For bent flanges on stiffeners in ship’s structure the smallest permissible inside bend radius is 3x the plate thickness. Clearly Torsk’s zarfs were built to a different spec. A coffee cup holder is naturally a different use case from deck stiffeners or hull frames for bent flanges. And I think, for a small object like a zarf, the tighter the bend, the better it looks. So I was willing to experiment.
For the first attempt I tried the simplest approach: a vice, two wood blocks, and a hammer. This gave mixed results but taught me useful lessons about bending aluminum.